
Stable Diffusion is a machine learning, text-to-image model developed by StabilityAI, which has recently been made freely available.
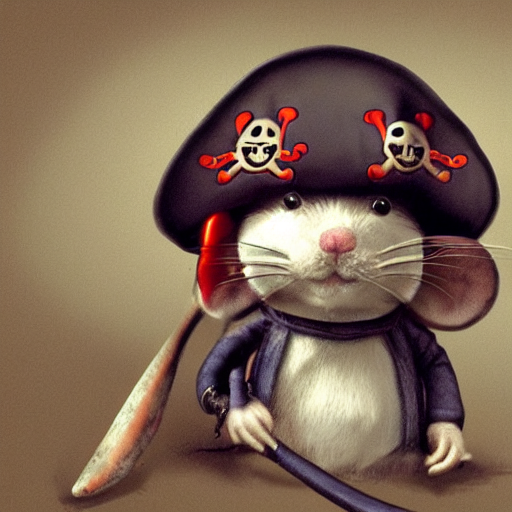
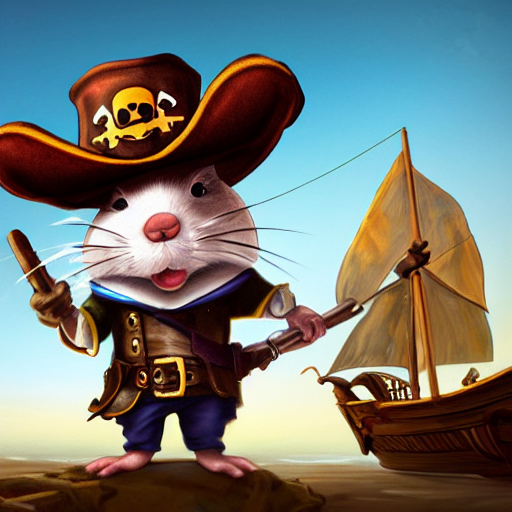
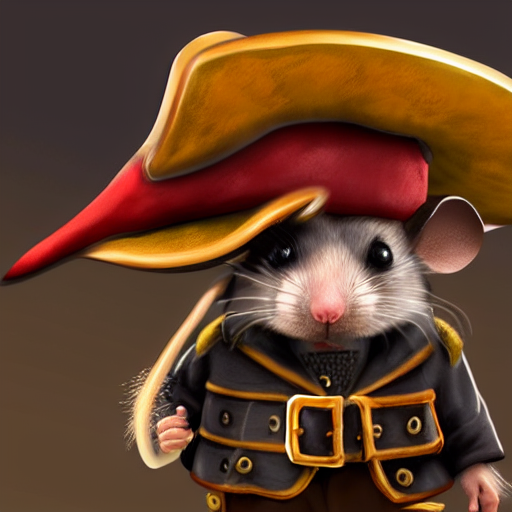
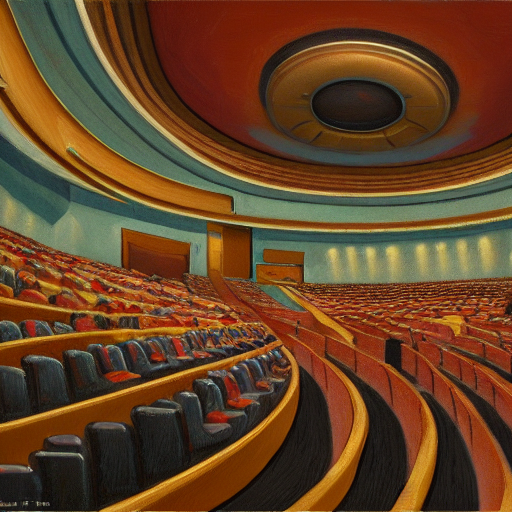
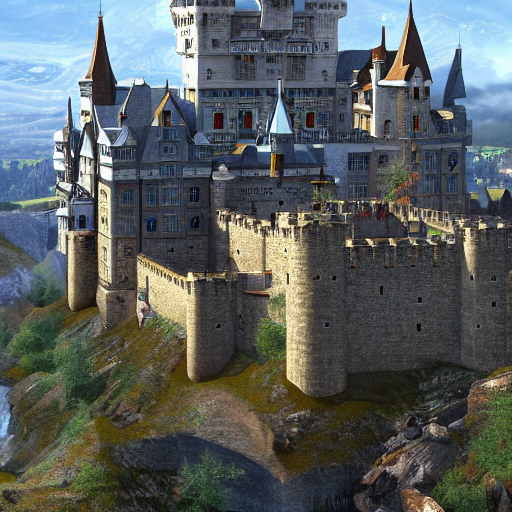
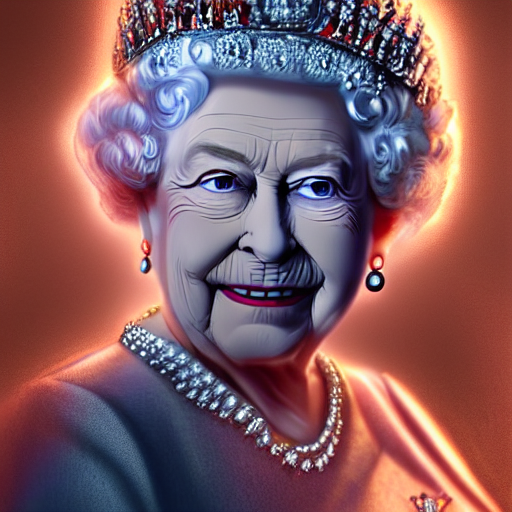
It can be used to create images from prompts, such as the images found here:
I wanted to build a lightweight web application, to generate images more easily, and explore some potential applications for the model. Here's how I did it.
Deploying a web application with Stable Diffusion
Stable Diffusion runs best on GPUs, and I found the easiest way to set this up was with Replicate, which provides the model out of the box with just a few lines of code. They've written an explainer on how to configure this here:

I wanted to deploy my web application using Next.js, so decided to use an unofficial community library for Replicate, written in Javascript.
 nicholascelestin
After creating a free account on Replicate, I created a starter Next.js application using Vercel, and then created a new API endpoint, which sends the prompt to Replicate, and returns the url of the resulting hosted image.
Afterwards, I created a very basic form on the front-end, which allowed me to send prompts to the back-end, and display the image when it gets a response.
In total, the application took about 10 minutes to write, from beginning to first image generated.
How to get the best results when using Stable Diffusion
It quickly became clear that images can be improved just by adding a few template phrases to the end of the prompt, so I added these to the end of every prompt by automatically inserting them from within the code.
It was also clear that adding the style that you want (i.e. photograph, cartoon, oil on canvas) to the end of the prompt can help enormously to guide the result, so I added a simple toggle select to the front-end to make this as easy as possible.
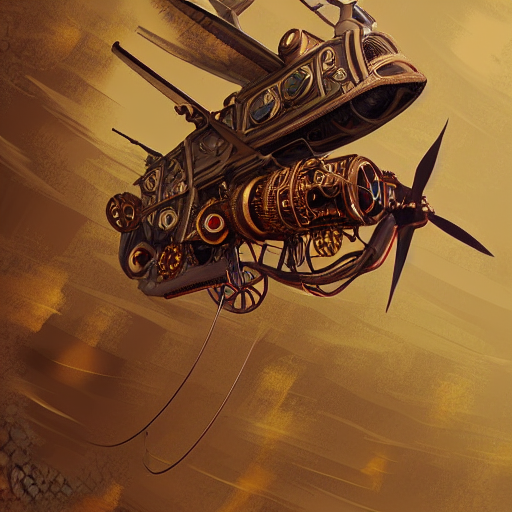
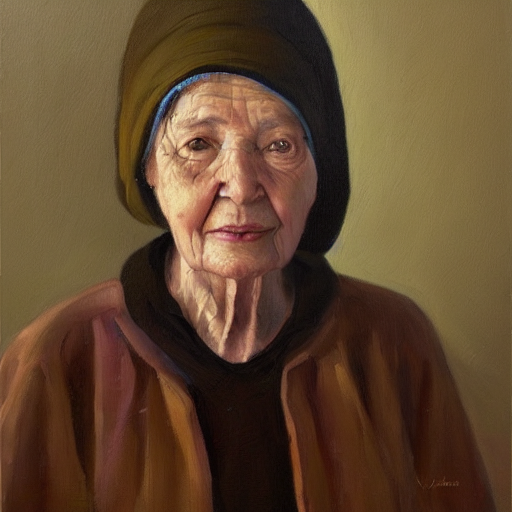
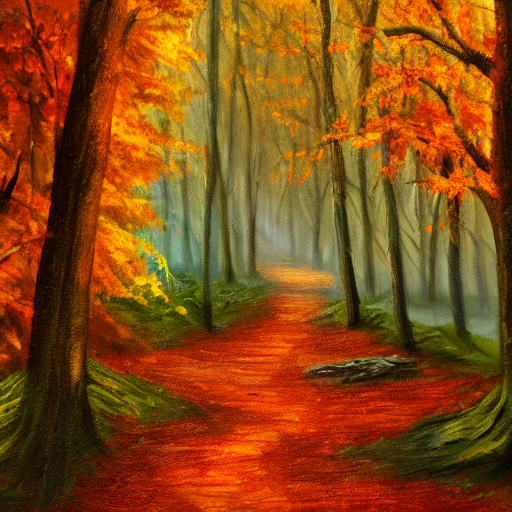
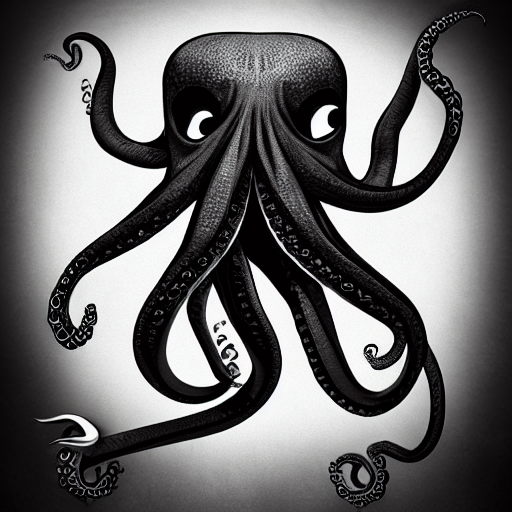
I've not spent enough time experimenting to determine how to get consistently amazing results yet - the images below are the first images that I generated, to mixed results.
I'm going to continue to experiment with this over the next week to find ways to improve the quality of the images that I'm generating.
I feel that we're at a really exciting time for technologies like this - no one really knows how to apply it in a valuable way yet, but the same can be said of the Internet when it was first developed.